Dotnet Template
Install SimpleIdServer templates.
dotnet new --install SimpleIdServer.Templates
This will add the following templates
| Command Line | Description |
|---|---|
| dotnet new idserverempty | Create a minimal implementation of the identity server |
| dotnet new idserverui | Create a minimal implementation of the identity server with login/password authentication configured |
| dotnet new idserver | Create a full-featured implementation of the identity server with all components ready to use |
| dotnet new idserveradmin | Create the identity server administration site |
| dotnet new scimempty | Create a minimal implementation of the SCIM 2.0 server |
| dotnet new scim | Create a full-featured implementation of the SCIM 2.0 server with all components ready to use |
| dotnet new credissuer | Create the credential issuer API |
| dotnet new credissueradminui | Create the credential issuer administration UI |
| dotnet new fastfedappprov | Create a FastFed application provider |
| dotnet new fastfedidprov | Create a FastFed identity provider |
Create Visual Studio Solution
Open a command prompt and execute the following commands to create the directory structure for the solution.
mkdir Quickstart
cd Quickstart
mkdir src
dotnet new sln -n Quickstart
Create IdentityServer project
To create a web project named IdServer with the SimpleIdServer.IdServer package installed, execute the command line :
cd src
dotnet new idserver -n IdServer
The following files will be created within a new src/IdServer directory :
IdServer.csproj: Project file with theSimpleIdServer.IdServerNuGet package added.appsettings.json: Contains the ConnectionString.Program.cs: Main application entry point. Next, add theIdServerproject into the Visual Studio Solution
cd ..
dotnet sln add ./src/IdServer/IdServer.csproj
Run the IdServer project, ensuring that it listens on the URL https://localhost:5001.
cd src/IdServer
dotnet run --urls=https://localhost:5001
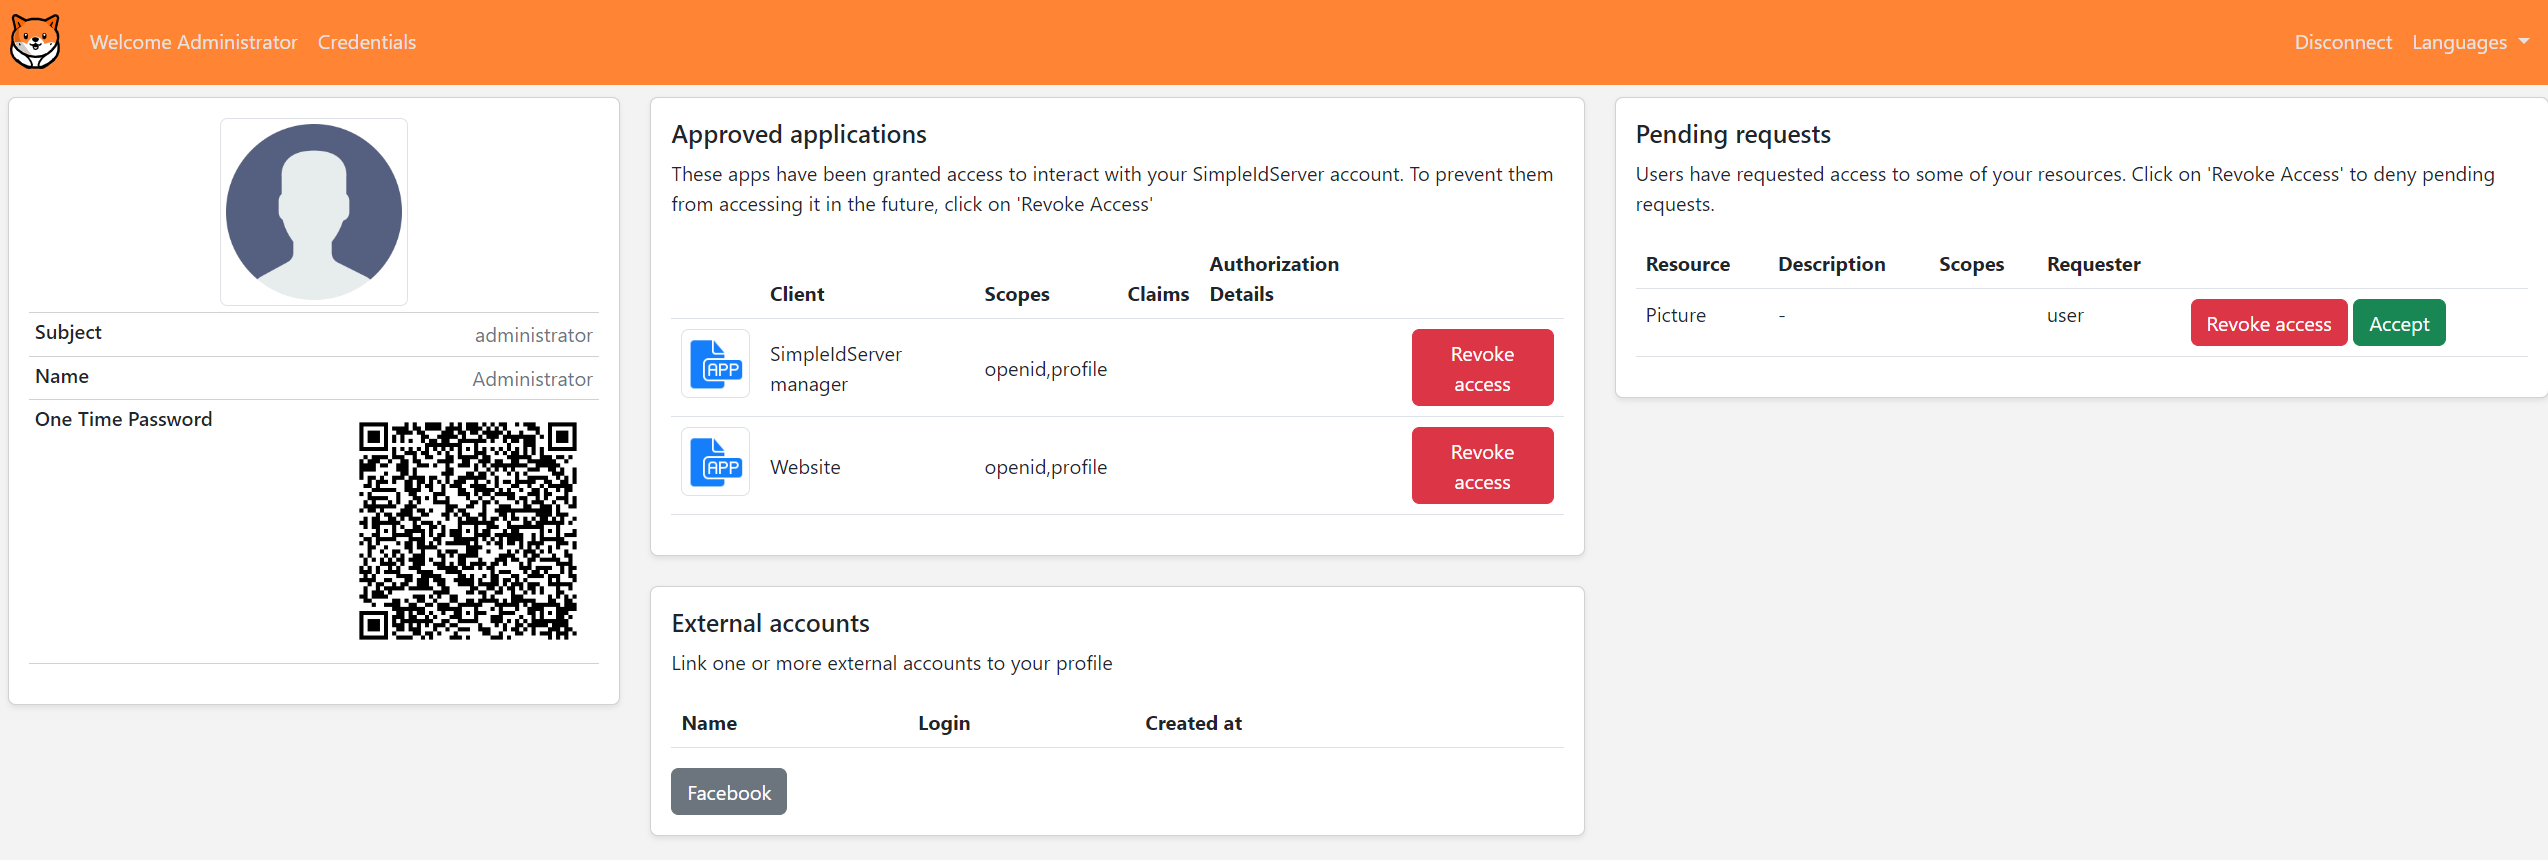
The IdentityServer is now ready to be used.
By default, there is one administrator account configured. You can access their profile by navigating to the URL https://localhost:5001/master and authenticate using the following credentials :
| Key | Value |
|---|---|
| Login | administrator |
| Password | password |
IdentityServer UI preview
The IdentityServer UI uses Bootstrap 5.
Create IdentityServer website project
create a web project named IdServerWebsite with the SimpleIdServer.IdServer.Website package installed, execute the command line :
cd src
dotnet new idserverwebsite -n IdServerWebsite
Run the IdServerWebsite project, it must listens on the url https://localhost:5002/master/clients.
cd src/IdServerWebsite
dotnet run --urls=https://localhost:5002
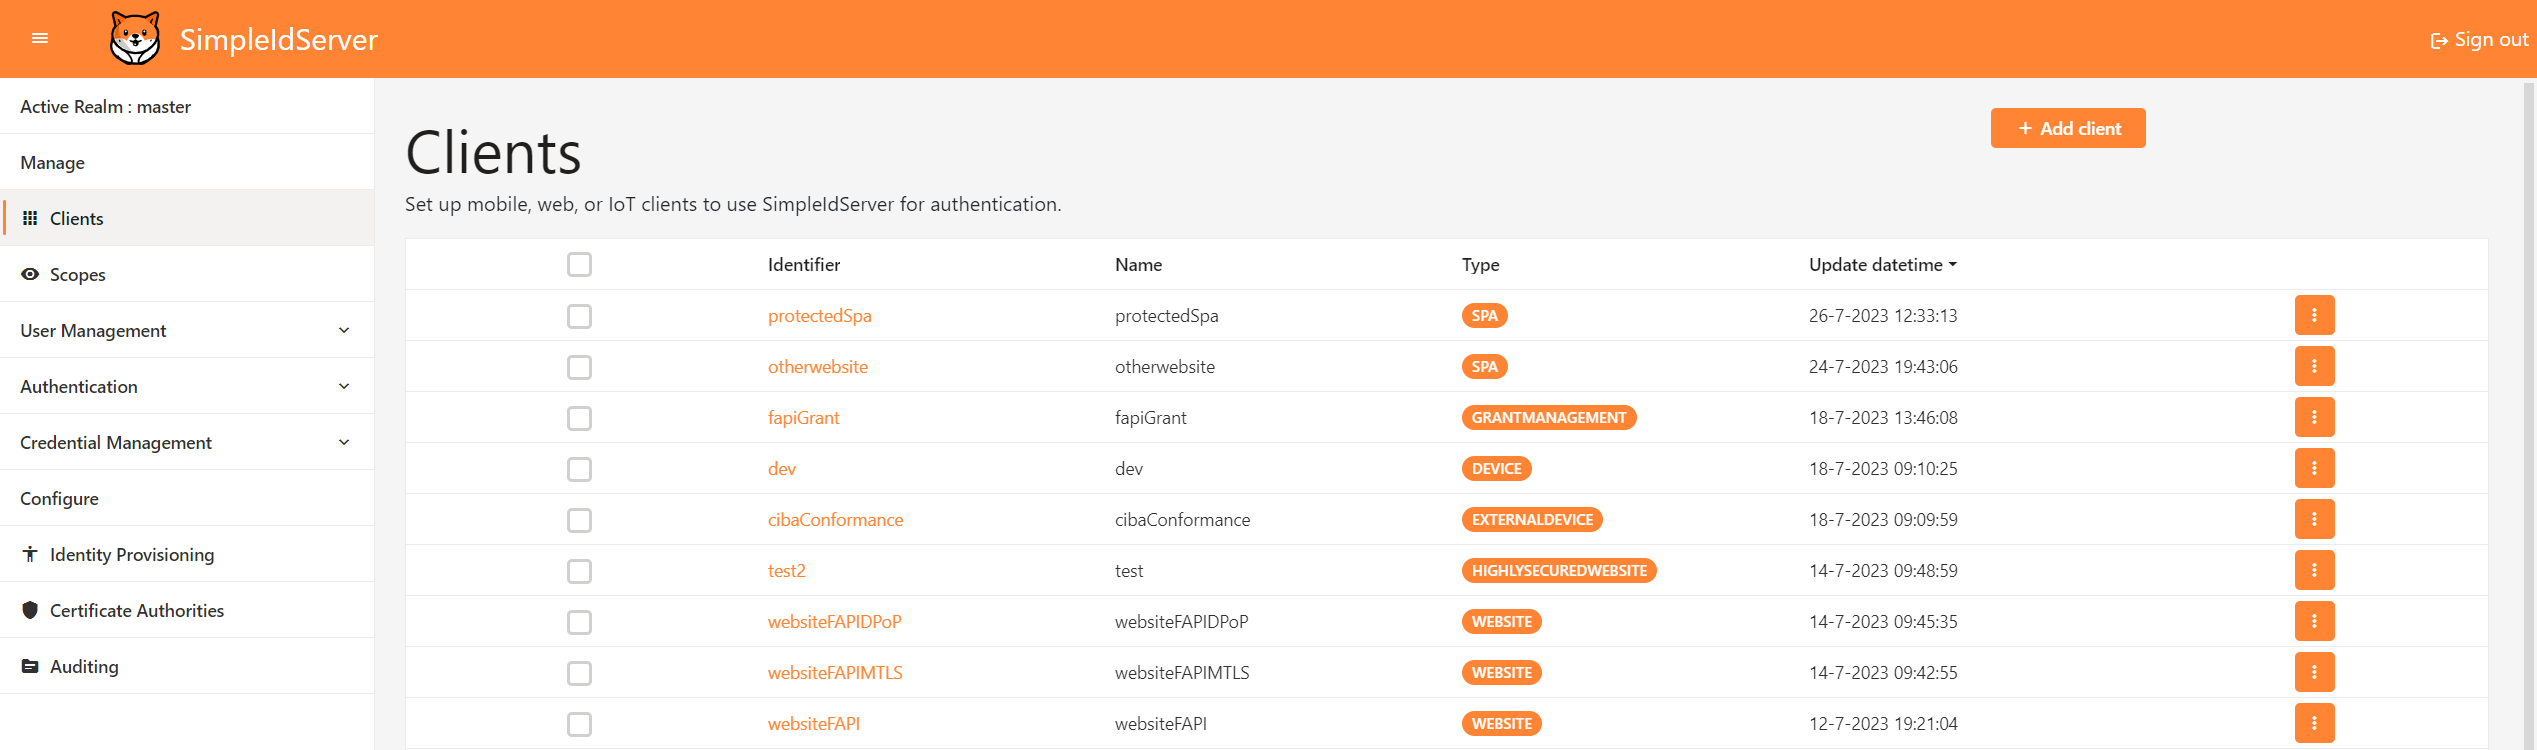
The IdentityServer website is now ready to be used.
The website can be used to manage all aspects of an Identity Server solution, such as managing clients, users, and scopes.
Identity Server website UI preview
The IdentityServer website UI uses Radzen.
SCIM Security
By default SCIM is configured to use API KEY authentication.
For clients to perform any operation, they must include one of those keys in the HTTP HEADER Authorization Bearer field.
| Owner | Value |
|---|---|
| IdServer | ba521b3b-02f7-4a37-b03c-58f713bf88e7 |
| AzureAd | 1595a72a-2804-495d-8a8a-2c861e7a736a |
Create SCIM project with EF support
Create a web project named ScimEF with the SimpleIdServer.Scim.Persistence.EF package installed and Entity Framework (EF) configured to use SQLServer, execute the command line :
cd src
dotnet new scim -n ScimEF --connectionString "Data Source=.;Initial Catalog=SCIM;Integrated Security=True;TrustServerCertificate=True" -t "SQLSERVER"
Next, add the ScimEF project into the Visual Studio Solution
cd ..
dotnet sln add ./src/ScimEF/ScimEF.csproj
Run the ScimEF project, ensuring that it listens on the URL https://localhost:5003.
cd src/SCIMEF
dotnet run --urls=https://localhost:5003
Now that the SCIM server is running, you can check its Schemas endpoint by accessing https://localhost:5003/Schemas.
Create SCIM project with MongoDB support
To create a web project named ScimMongoDB with the SimpleIdServer.Scim.Persistence.MongoDB package installed and MongoDB support, execute the command line :
cd src
dotnet new scim -n ScimMongoDB --connectionString "mongodb://localhost:27017" -t "MONGODB"
Next, add the ScimMongoDB project into the Visual Studio Solution
cd ..
dotnet sln add ./src/ScimMongoDB/ScimMongoDB.csproj
Run the ScimMongoDB project, ensuring that it listens on the URL https://localhost:5003.
cd src/ScimMongoDB
dotnet run --urls=https://localhost:5003
Now that the SCIM server is running, you can check its Schemas endpoint by accessing https://localhost:5003/Schemas.
Create credential issuer project
To create a web project named CredentialIssuer with the SimpleIdServer.CredentialIssuer package installed, execute the command line :
cd src
dotnet new credissuer -n CredentialIssuer
If you are using version 5.0.0, you must install the NuGet package Microsoft.IdentityModel.Protocols.OpenIdConnect version 7.5.1. Otherwise, the OpenIdConnect library will not be able to read the OpenID configuration from the well-known endpoint.
The following files will be created within a new src/CredentialIssuer directory :
CredentialIssuer.csproj: Project file with theSimpleIdServer.CredentialIssuerNuGet package added.appsettings.json: Contains the properties to configure the Openid authentication, such as the ClientId, ClientSecret and Issuer.Program.cs: Main application entry point.CredentialIssuerConfiguration.cs: Contains theCredentialConfigurations.
Run the CredentialIssuer project, ensuring that it listens on the URL https://localhost:5005.
cd src/IdServer
dotnet run --urls=https://localhost:5005
The CredentialIssuer is now ready to be used.
Credential issuer UI preview
The CredentialIssuer UI uses Bootstrap 5.

Create credential issuer website project
To create a web project named CredentialIssuerAdminui with the SimpleIdServer.CredentialIssuer.Website package installed, execute the command line :
cd src
dotnet new credissueradminui -n CredentialIssuerAdminui
If you are using version 5.0.0, you must install the NuGet package Microsoft.IdentityModel.Protocols.OpenIdConnect version 7.5.1. Otherwise, the OpenIdConnect library will not be able to read the OpenID configuration from the well-known endpoint.
Run the CredentialIssuerAdminui project, it must listens on the url https://localhost:5006.
cd src/IdServerWebsite
dotnet run --urls=https://localhost:5006
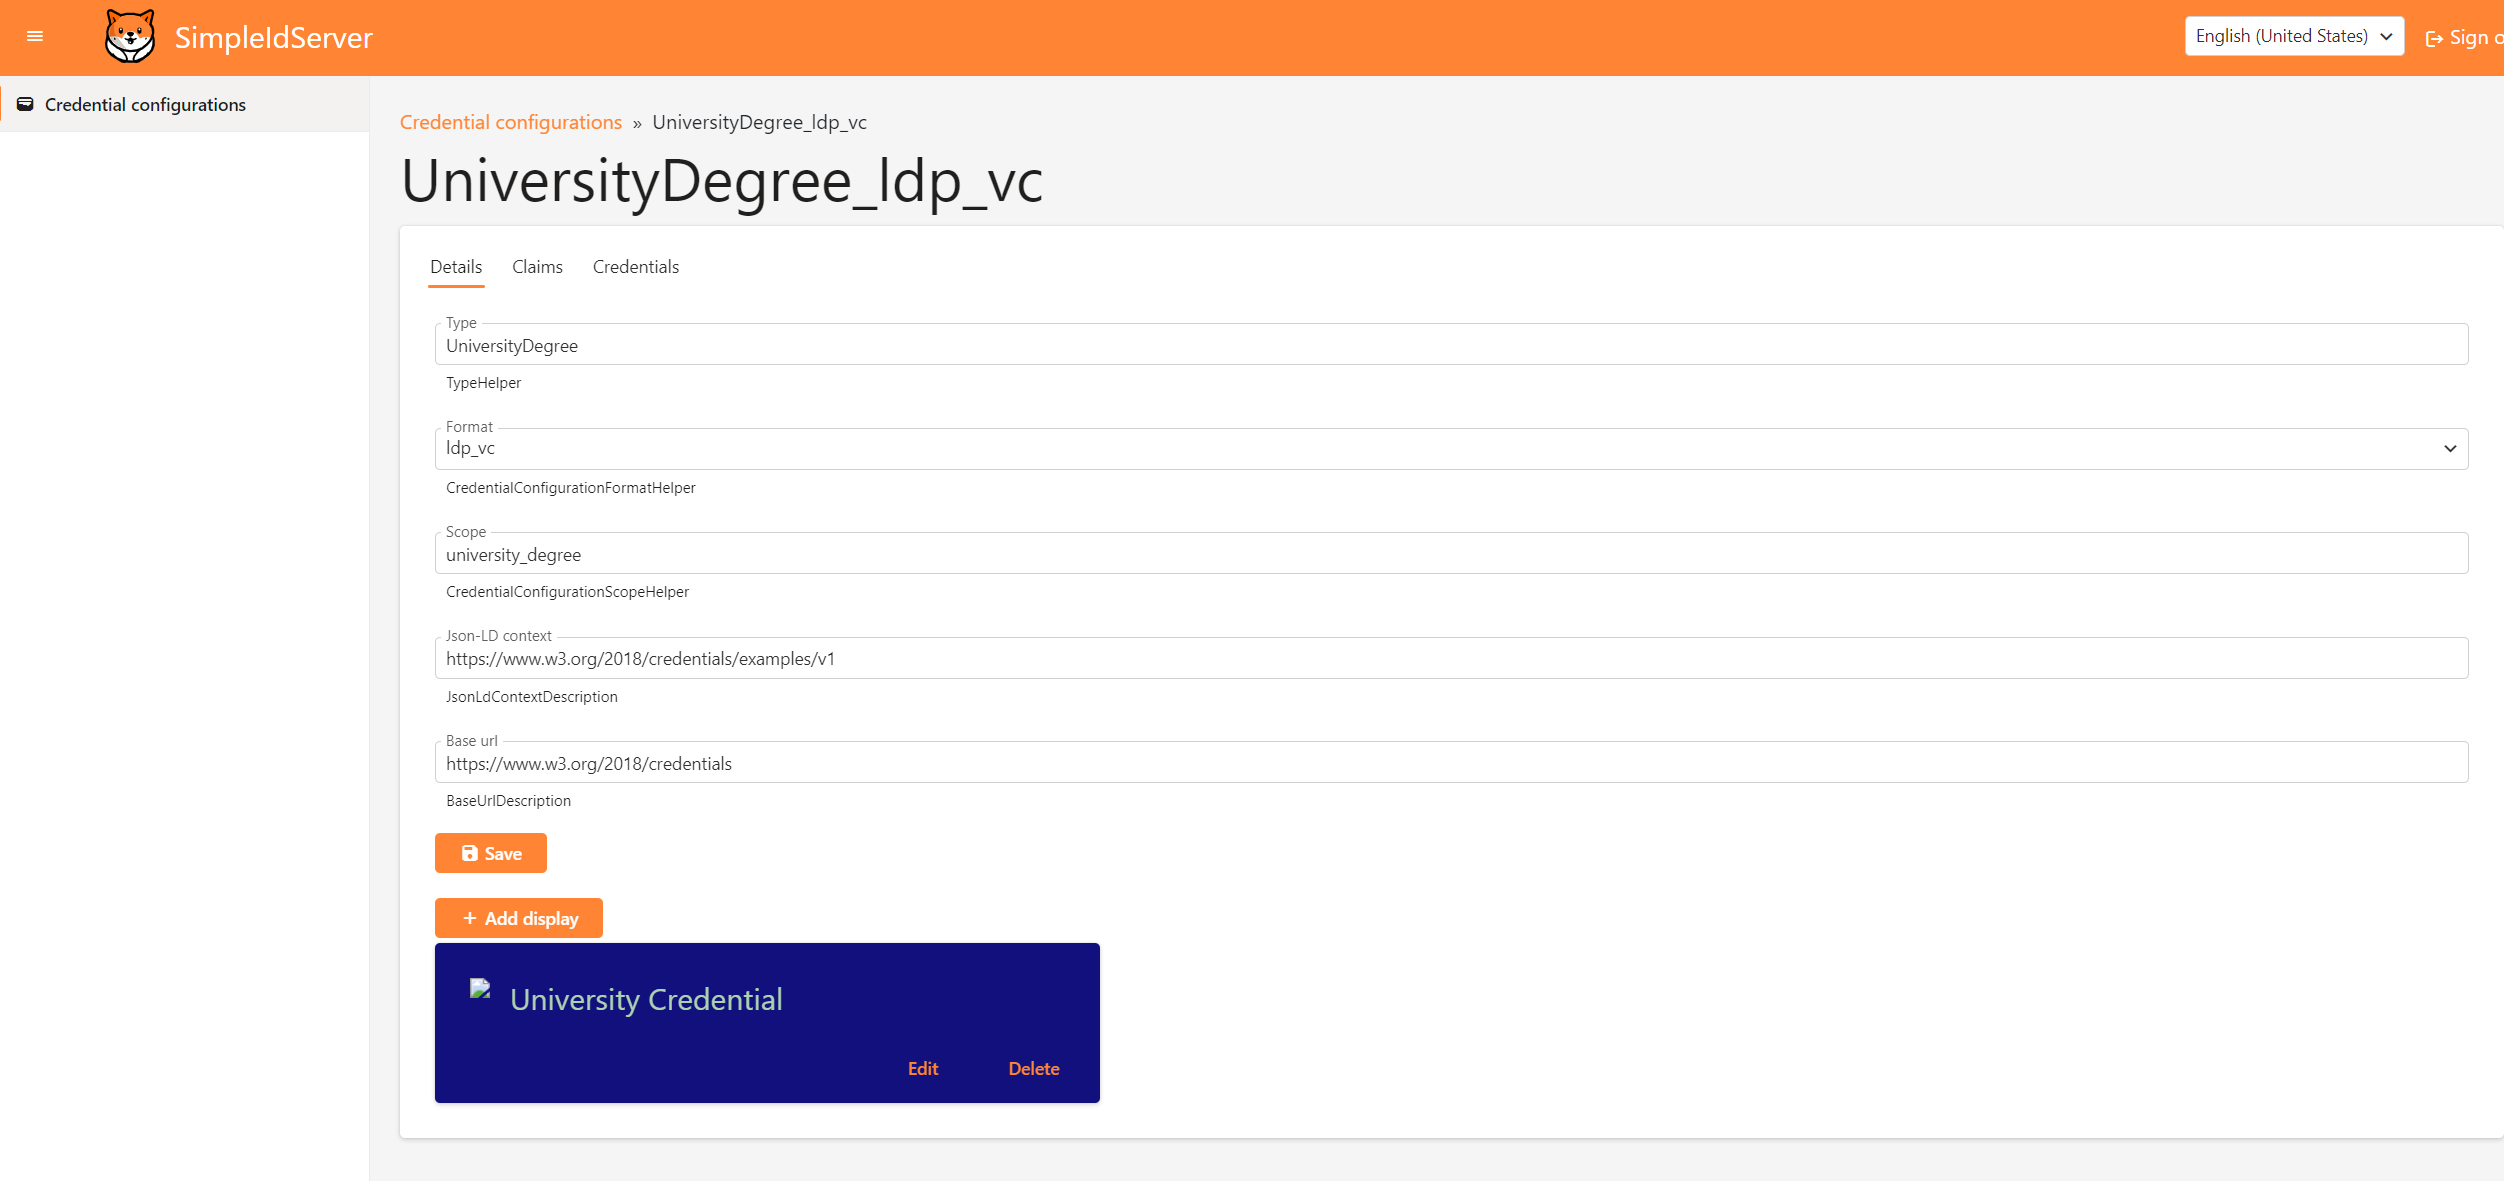
The credential issuer administration ui is now ready to be used.
The website can be used to manage the credential configurations.
Credential issuer website UI preview
The CredentialIssuer website UI uses Radzen.
Create FastFed Application Provider
Create a web project named FastFedApplicationProvider with the SimpleIdServer.FastFed.ApplicationProvider.Provisioning.Scim package installed. To do this, run the following command:
cd src
dotnet new fastfedappprov -n FastFedApplicationProvider
Create FastFed Identity Provider
Create a web project named FastFedIdProvider with the SimpleIdServer.FastFed.ApplicationProvider.Provisioning.Scim package installed and configured to use SQL Server as the message broker. Execute the following command:
cd src
dotnet new fastfedidprov -n FastFedIdProvider --messageBrokerConnectionString "Data Source=.;Initial Catalog=MessageBroker;Integrated Security=True;TrustServerCertificate=True" --messageBrokerTransport "SQLSERVER"