Implementing a minimal Administration website
The SimpleIdServer administration site offers a comprehensive suite of functionalities for managing all aspects of identity management. Whether you need to create and configure one or several OAUTH2.0 clients or import users from an LDAP directory into your identity server, this administration portal is designed to streamline these tasks.
Overview
At its core, the administration site is engineered to simplify identity management tasks. It empowers administrators to efficiently handle client configurations, manage authentication processes, and oversee user imports from LDAP. The platform's flexibility allows you to deploy it in two distinct ways on an ASP.NET CORE application.
There are two primary methods to deploy the SimpleIdServer administration site: Automatic Deployment and Manual Deployment.
Automatic Deployment
For a quick setup, you can automatically deploy the administration site by executing the following command:
dotnet new idserveradminempty
This command creates an ASP.NET CORE project that is already pre-configured with a minimalistic implementation of the administration site, enabling you to get started immediately.
Manual Deployment
For those who prefer a hands-on approach or need more control over the configuration, you can manually deploy the administration site by following these steps:
-
Create an ASP.NET CORE Project : Start by creating a new ASP.NET CORE project using your preferred method.
-
Install the NuGet Package : Add the
SimpleIdServer.IdServer.WebsiteNuGet package to your project. This package contains all the necessary components to run the administration site. -
Add the Required Component File : Create a
Notfound.razorfile in theComponentsdirectory. This file ensures that theApp.razorcomponent is executed regardless of the URL entered by the client. Below is the content you should include:
@page "/{*path:regex(^((?!\\.js|\\.css|\\.png|\\.woff2|\\.svg).)*$)}"

<h3>NotFound</h3>

@code {
    [Parameter] public string? path { get; set; }
}
- Configure the App.razor File : Edit your
App.razorfile to incorporate the necessary JavaScript and CSS libraries. The configuration should include:
- Z.Blazor.Diagrams for editing authentication and registration processes.
- SimpleIdServer.IdServer.Website resources.
- Radzen.Blazor for graphical elements.
- BlazorMonaco for code editing functionalities.
Additionally, replace the default Router component with IdServerRouter.
Below is the updated version of App.razor:
@using SimpleIdServer.IdServer.Website
<!DOCTYPE html>
<html lang="en">

<head>
    <meta charset="utf-8" />
    <meta name="viewport" content="width=device-width, initial-scale=1.0" />
    <base href="/" />
    <link rel="stylesheet" href="_content/SimpleIdServer.IdServer.Website/css/themes.css" />
    <link rel="stylesheet" href="_content/SimpleIdServer.IdServer.Website/css/website.css" />
    <link rel="stylesheet" href="_content/SimpleIdServer.IdServer.Website/css/stateDig.css" />
    <link rel="stylesheet" href="_content/Z.Blazor.Diagrams/style.min.css" />
    <link rel="stylesheet" href="_content/Z.Blazor.Diagrams/default.styles.min.css" />
    <link rel="stylesheet" href="lib/bootstrap/dist/css/bootstrap.min.css" />
    <link rel="stylesheet" href="app.css" />
    <link rel="stylesheet" href="SimpleIdServer.IdServerAdmin.Empty.Startup.styles.css" />
    <script src="_content/SimpleIdServer.IdServer.Website/website.js"></script>
    <link rel="icon" type="image/png" href="favicon.png" />
</head>

<body>
    <IdServerRouter />
    <script src="_framework/blazor.web.js"></script>
    <script src="_content/Radzen.Blazor/Radzen.Blazor.js"></script>
    <script src="_content/Z.Blazor.Diagrams/script.min.js"></script>
    <script src="_content/FormBuilder/lib.js"></script>
    <script src="_content/BlazorMonaco/jsInterop.js"></script>
    <script src="_content/BlazorMonaco/lib/monaco-editor/min/vs/loader.js"></script>
    <script src="_content/BlazorMonaco/lib/monaco-editor/min/vs/editor/editor.main.js"></script>
</body>

</html>
Finally, adjust the Program.cs file to register the dependencies required by the administration site. Use the AddIdserverAdmin function to set up the identity server URL (by default, https://localhost:5001), and then call UseIdServerAdmin to configure the web application. Below is an example configuration:
var builder = WebApplication.CreateBuilder(args);

// Add services to the container.
builder.Services.AddRazorComponents()
    .AddInteractiveServerComponents();

builder.Services.AddIdserverAdmin("https://localhost:5001")
    .EnableRealm();
var app = builder.Build();

app.UseIdserverAdmin();
app.UseHttpsRedirection();
app.UseAntiforgery();
app.MapRazorComponents<App>()
    .AddInteractiveServerRenderMode();
app.Run();
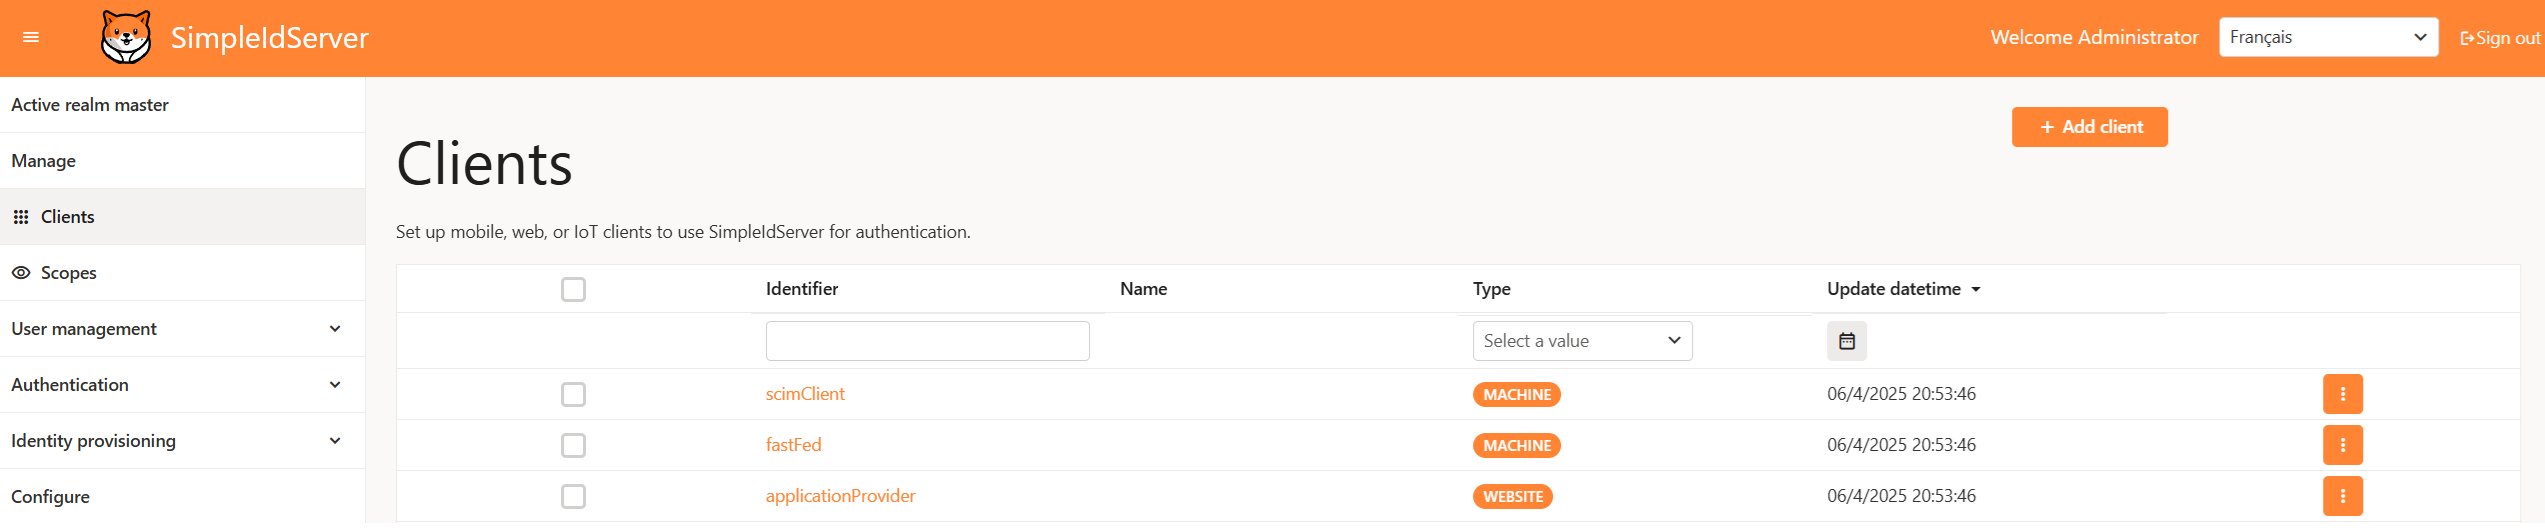
Below is a preview of the administration website: