Credential issuer
A credential issuer is a protected REST API capable of issuing Verifiable Credentials.
The Digital Credentials Protocols (DPC) working group of the OPENID standard has authored a technical specification for developing Credential Issuers. For more information, please refer to the official documentation.
In this article, we will develop a REST API for a University capable of issuing University degrees to its students. The REST API adheres to the following technical specifications:
- Verifiable credentials are returned in the ldp_vc format.
- The did:key algorithm is utilized to transform the credential into a verifiable credential.
1. Configure a scope
If a university_degree scope is configured, then skip this step.
Utilize the administration UI to configure a new scope :
- Open the IdentityServer website at https://localhost:5002/master/clients.
- On the Scopes screen, click on the
Add scopebutton. - Select API value and click on next.
- Fill-in the form like this and click on the Save button to confirm the creation.
| Parameter | Value |
|---|---|
| Name | university_degree |
| Description | University degree |
2. Configure an application
Utilize the administration UI to configure a new OpenID client :
- Open the IdentityServer website at https://localhost:5002/master/clients.
- In the Clients screen, click on
Add clientbutton. - Select
Credential Issuer. - Fill-in the form like this and click on the
Savebutton to confirm the creation.
| Parameter | Value |
|---|---|
| Identifier | CredentialIssuer |
| Secret | password |
| Name | Credential Issuer |
| Redirect URLS | https://localhost:5005/* |
- Click on the new client, then select the
Client scopestab click on theAdd client scopebutton. Choose theuniversity_degreescope and click on theSavebutton.
3. Create credential issuer
Create and configure the credential issuer API.
- Open a command prompt and execute the following commands to create the directory structure for the solution :
mkdir CredentialIssuer
cd CredentialIssuer
mkdir src
dotnet new sln -n CredentialIssuer
- Use the SimpleIderver template to create the credential issuer project :
cd src
dotnet new credissuer -n CredentialIssuer
- Add the
CredentialIssuerproject into the solution :
cd ..
dotnet sln add ./src/CredentialIssuer/CredentialIssuer.csproj
By default, the CredentialIssuer project is configured to issue Verifiable Credentials, such as the UniversityDegree.
The project configuration is located in the CredentialIssuerConfiguration.cs file, which contains the following properties:
CredentialConfigurations: Definitions of credentials and the mapping rules with the user's claims. CredentialClaims: Claims of the user.
In a command prompt, navigate to the src\CredentialIssuer directory and launch the application.
dotnet run --urls=https://*:5005
Please browse the following URL: https://localhost:5005/credentials. The User-Agent will be automatically redirected to the OpenID server. Submit the following credentials and confirm the consent. You will then be redirected to a screen where your claims will be displayed.
| Credential | Value |
|---|---|
| Login | administrator |
| Password | password |
Finally, click on the Share button next to the University Credential.
A QR will be displayed in a popup window :

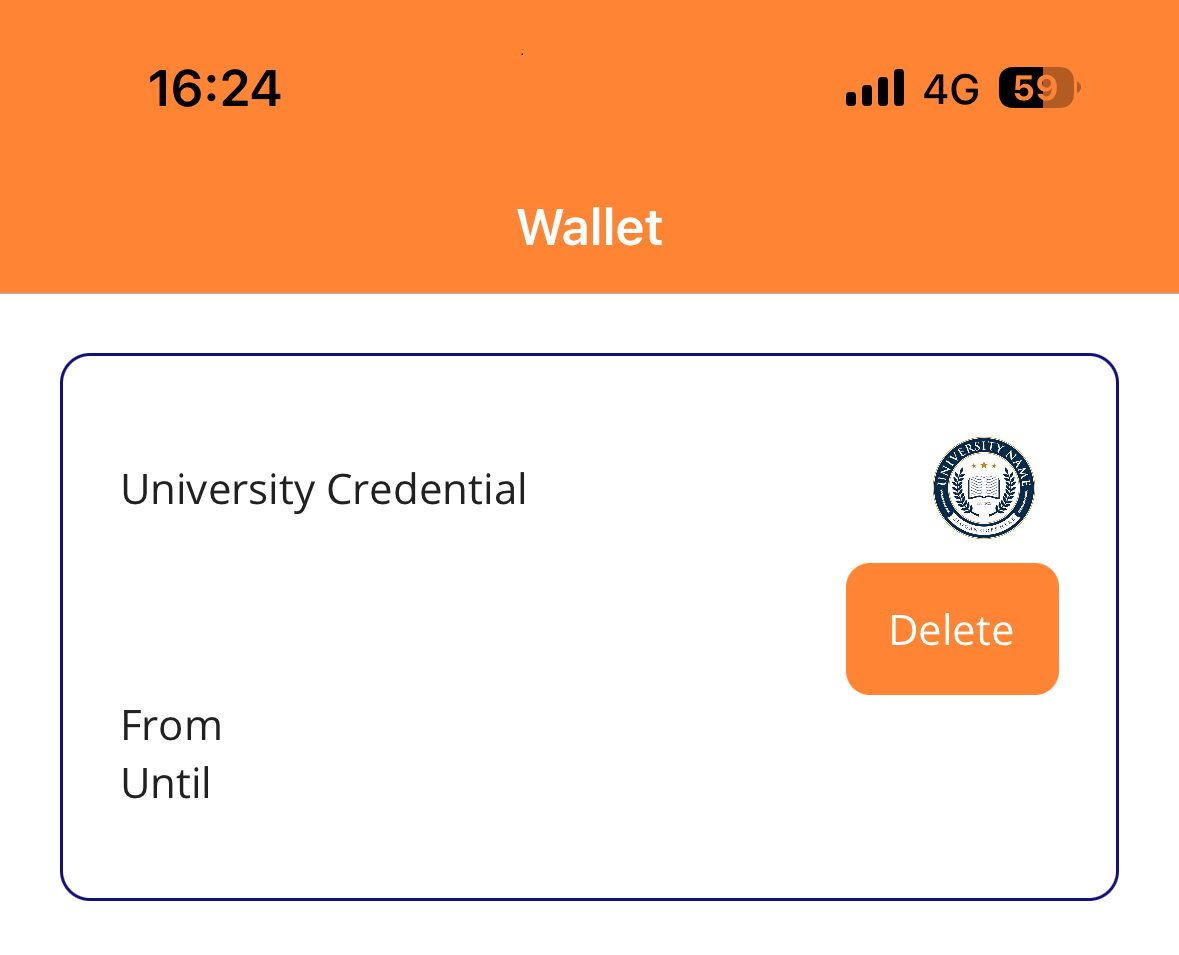
3. Enroll verifiable credentials
If the mobile application is not yet installed, follow this tutorial.
Scan the QR code displayed by the credential issuer. If the enrollment is successful, a success message will be displayed. The verifiable credential is now visible in the Wallet tab.